|
|
The manufacturing process for "Take a Picture" begins just like any painting: cutting wood to size for the stretchers. |
Once the wood has been cut, construction of the stretchers can begin. |
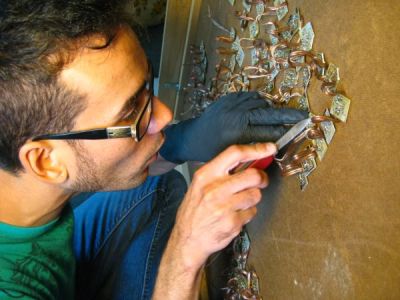
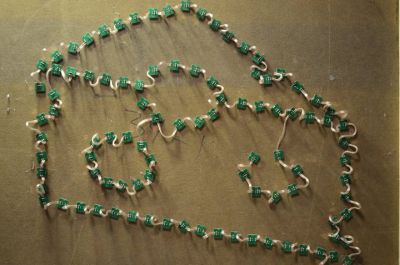
Once the boards have been etched (not shown) parts are soldered in place. |
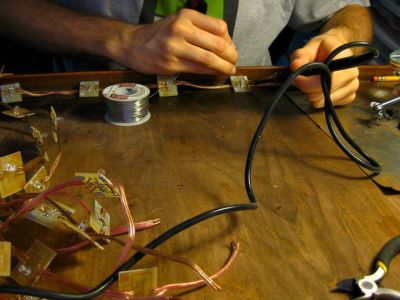
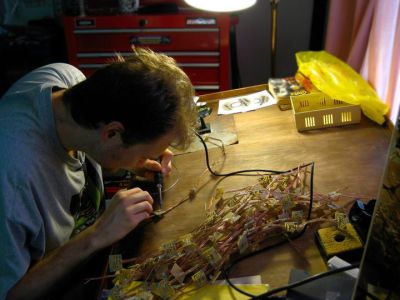
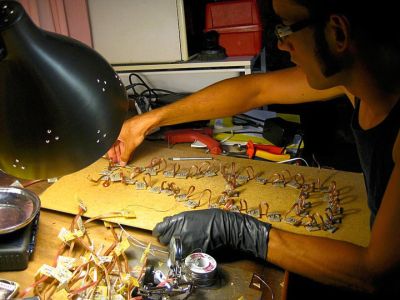
There are a lot of boards to solder. |
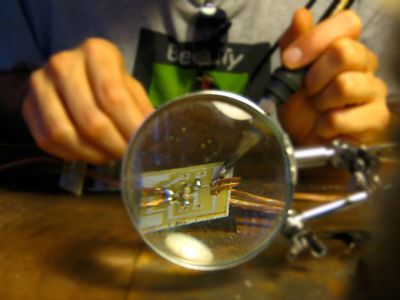
There are A LOT of boards to solder. So many boards... |
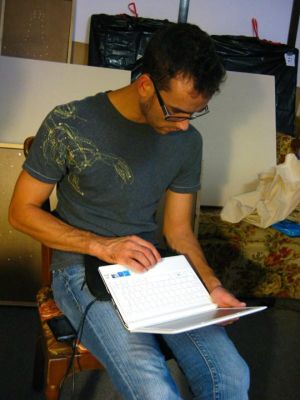
Brad formats the image for printing. |
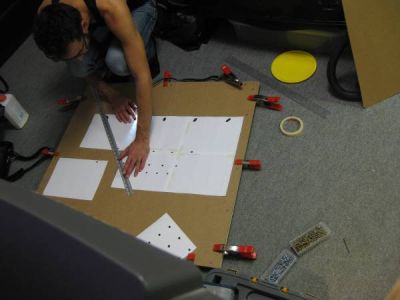
After the image has been printed, it is aligned and taped to the masonite board. |
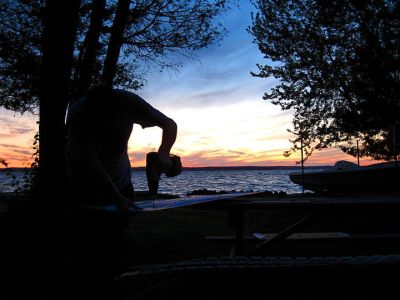
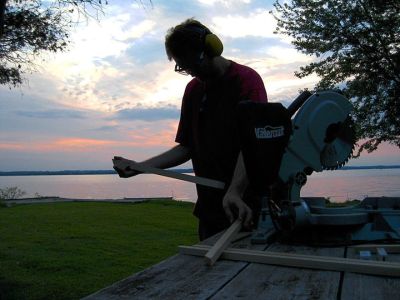
With the image taped in place, The holes can be drilled out. In this case, Kyle is drilling out the holes while watching the sun set on the waterfront. |
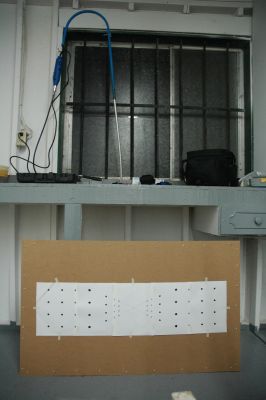
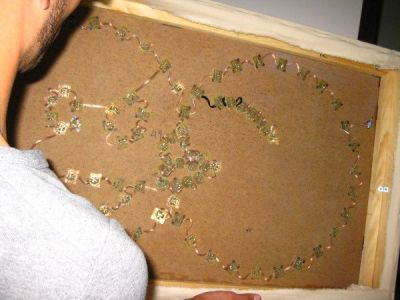
A piece of masonite with the image attached. |
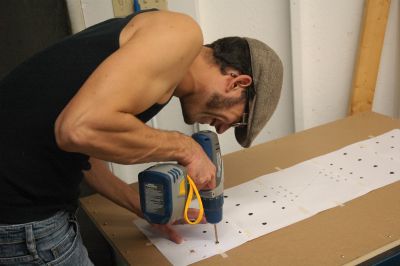
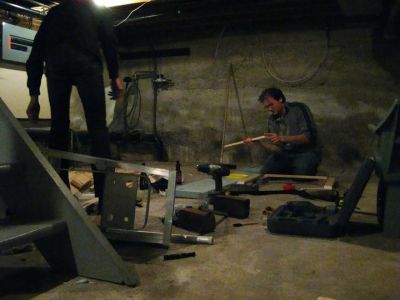
Brad, having the steadier hand, drills the holes for the geometric abstraction pieces. Unlike Kyle, who chose to do his drilling in front of a beautiful sunset, Brad likes to do his drilling inside a dark spider-infested boathouse. |
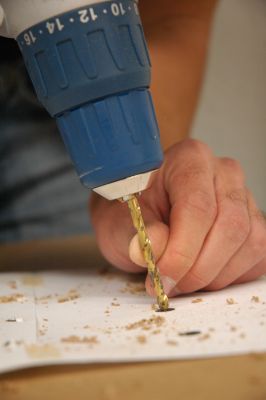
Brad is carefully drilling holes in the masonite. |
Drilling more holes. |
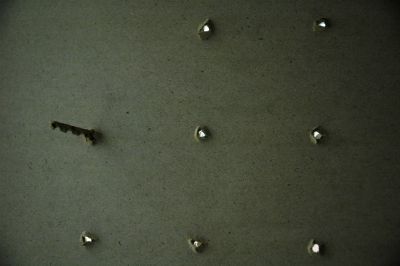
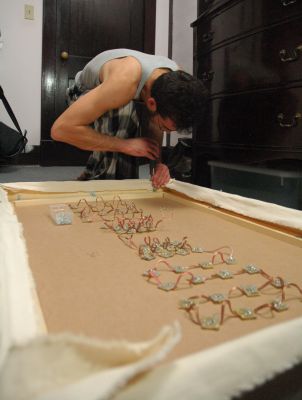
Now that all the circuits have been soldered together into chains, and the holes have been drilled into the masonite board, the LEDs can be popped into place. |
After testing, a few circuits didn't work, so Brad checks each board for shorts. If any are found, they are scratched off with Kyle's trusty pocket knife . |
When everything is confirmed to be working, The boards are aligned and glued into position. |
We're nerds, we can't resist throwing in a little homage to J.J. Abrams' 2009 Star Trek film by having lots of lens flare in the shot. |
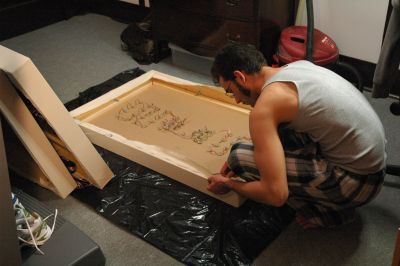
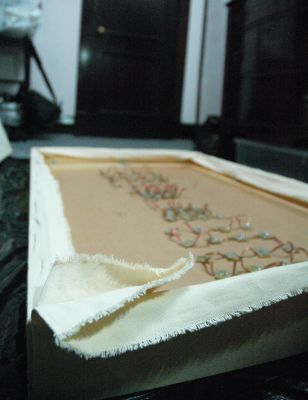
Kyle stretches the canvas. |
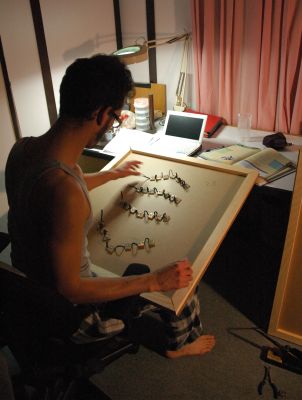
Now that the canvas is stretched, we inspect our work one last time, just to make sure we didn't miss anything. |
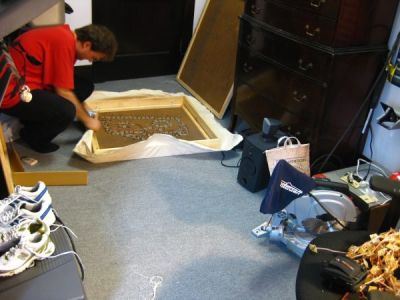
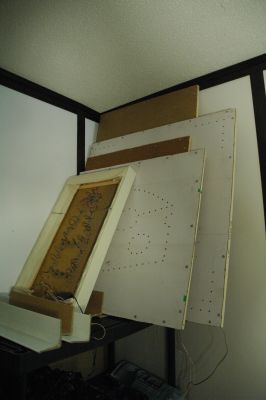
Raw canvas is very susceptible to dirt and stains, so we lay down some plastic sheets to protect the canvas while Brad checks the height of the masonite, making sure none of the LEDs are pressing into the surface, giving away the secret to these invisible paintings. |
something was a millimetre off. Brad can't let that go, so he makes some final adjustments to the back. |
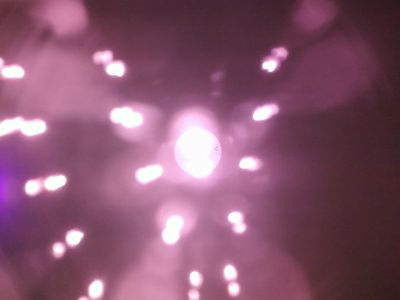
Another homage to Star Trek and lens flare. The crappy camera in Kyle's cellphone creates some wonderful flares. |
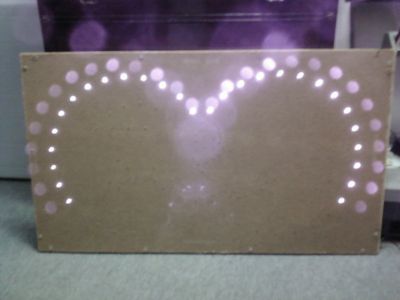
The piece is almost done! |
The beauty of the 'Take a Picture' project (from a practical point of view) is the modularity. Different masonite inserts have been created for each frame. They are easy to replace, and more can be made at any time, so the audience will never know which image to expect. |
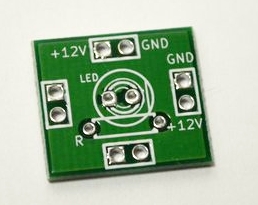
Now that our process has finally been perfected, it's time to change things up! We replace our hand-made circuit boards with professionally manufactured ones. These are smaller (and prettier) than anything we can make ourselves. Smaller boards allow for more intricate and detailed images. Special thanks to Seth Hardy for designing the board for us. |
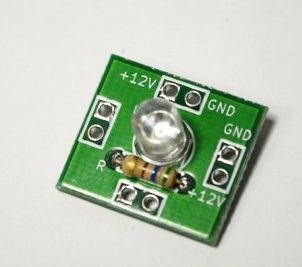
Here is one of the new boards with the components installed. It looks so professional! It's kinda hard to believe that "I made this". I look forward to working with these boards in the future. This one change has already saved us hundreds of hours of labour, and allowed us to create some new invisible images that wouldn't have been possible otherwise. |
An old image made with new LEDs and our new boards. Where did the original boards from this image go? Do we have some new, as-of-yet unseen invisible images in our studio? Is there a reason to believe that there might be more to come? |